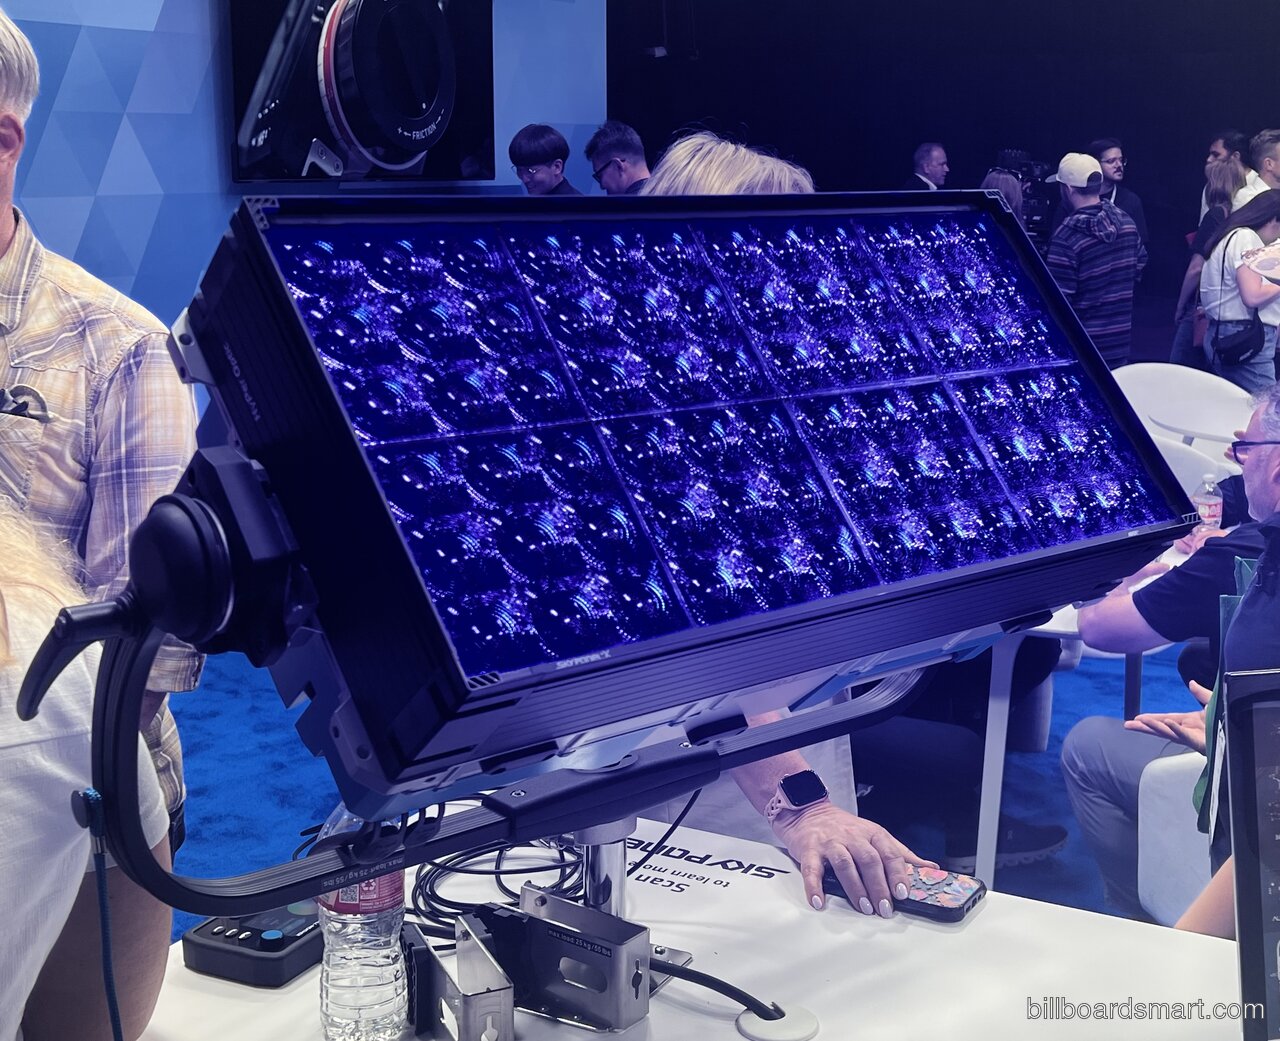
Ask any photographer what ruined their last shoot and the answer is rarely the camera. It is the light. A portrait taken in a dim room, a video call in a dark office, a product photo under a yellow kitchen bulb: the camera did its best, but the light was not there. For years, fixing that meant carrying heavy studio gear, and most people simply did not bother. Lume Cube started with the idea that good light should fit in a pocket.
The company is based in San Diego, California, and it began in 2014 with a small cube-shaped LED light that was funded through Kickstarter, where it raised far more than its original goal. The first product was a 1.5-inch cube that put out a surprising amount of light for its size, could be dimmed, could work as a continuous light or a flash, and was waterproof. It was the kind of product that made sense the moment you held it: a light you could stick on a camera, a phone, a tripod, or a desk, and carry anywhere.
From that one cube, the range has grown into a full lighting catalogue for photographers, videographers, streamers, and anyone who works on camera. Panel lights, ring lights, tube lights, larger studio lights, desk lamps, and kits that bundle several lights together. The brand's through-line has stayed the same: portable, adjustable, and simple enough that a creator can set it up without an engineering degree. This guide explains what Lume Cube sells, who each type of light suits, and how to choose without overspending.
From one cube to a full lighting range
The original Lume Cube is still the best place to understand the brand. It is small enough to sit on top of a camera or clip to a phone, it puts out up to 1,500 lumens, and it is waterproof to a depth that makes it usable in rain, by a pool, or even underwater. That combination made it popular with action camera users, travel photographers, and anyone shooting outdoors where the weather does not cooperate. It can be controlled by hand or through a phone app, and it works as a steady video light or as a flash for still photos. Later versions refined the idea rather than replacing it: better battery life, smoother dimming, and more accessories.
Panel lights are the workhorses of the range, and they are where most buyers should start. A panel is a flat, rectangular light that gives soft, even illumination across a face or a small scene, which is exactly what you want for video calls, streaming, and talking-head videos. The Panel Go is a good example: slim enough to carry in a bag, rechargeable, with adjustable brightness and a colour temperature range from warm to daylight. That range matters. A light set too cool makes skin look washed out. A light set too warm makes everything look yellow. Being able to tune the colour to match the room is the difference between looking professional and looking like you are lit by a street lamp.
Ring lights are the specialist tool for faces. A ring of light around the camera lens fills in shadows, catches the eyes, and gives skin a smooth, even look. They are popular with beauty creators, makeup artists, and anyone who films themselves at a desk, because the light is flattering and the setup is simple: one light, one stand, one phone or camera in the middle. The trade-off is that ring lights are less flexible than panels. They are excellent for one person facing a camera, and less useful for lighting a room, a product, or a group.
Tube lights are the creative end of the range. Long, slim bars of light that can sit on a desk, lean against a wall, or be held in the hand, they are used for adding colour and shape to a scene: a warm glow behind a streamer, a coloured accent in a product shot, a practical light that doubles as a prop. Some models can produce a wide range of colours, which opens up effects that a plain white panel cannot do. They are also useful as portable fill lights on location, because they are light, they run on batteries, and they pack flat.
At the larger end sit the COB lights, which are the closest thing in the range to a traditional studio light: a single, powerful point of light that can be shaped with modifiers, bounced off a wall, or used as a key light for a full scene. These suit creators who have moved beyond a desk setup and want to light a room properly. They cost more, they need a stand and a power source, and they are not something you slip into a pocket. But for a home studio, a small production, or a YouTube channel that has grown past a single ring light, they are the logical next step.
Which light suits which job
Start with what you are actually doing, not with what looks impressive. If you spend your working day on video calls, a panel light or a small desk lamp is the right buy. It sits behind or beside your screen, lights your face evenly, and makes you look like you are in a proper office rather than a dark corner. It does not need to be powerful. It needs to be soft, adjustable, and easy to turn on before a call. A light that is too bright, pointed straight at your face, is worse than no light at all, because it washes you out and makes you squint.
If you film videos for social media, a ring light is often the fastest way to a good result. It flatters faces, it sets up in minutes, and it works with a phone. Pair it with a panel as a second light and you have a two-light setup that covers most situations: the ring as your main light, the panel as a fill to soften shadows on one side. That combination costs far less than a studio kit and fits in a corner of a bedroom.
If you photograph products, small objects, or food, a panel is the better first buy. You need even, controllable light that you can move around the subject, and you need to be able to change the colour temperature to match the look you want. A tube light is a good second purchase for product work, because it can add a coloured edge or a highlight that makes an ordinary object look interesting. Buy the panel first, learn how it behaves, and add the tube when you know what effect you are missing.
Outdoor and action shooters should look at the original cube lights and the waterproof models. A light that can survive rain, dust, and a knock is worth more on location than a brighter light that has to stay indoors. Check the waterproof rating, check how the light mounts to your camera or tripod, and check the battery life in real use rather than on the box. A small light that dies after twenty minutes is not a small light. It is a paperweight.
For a home studio, think in terms of a kit rather than a single light. Two panels and a tube, or a COB light with a softbox, will give you far more control than one expensive light on its own. Light is about shaping, not just brightness, and shaping takes more than one source. Kits also tend to include the stands, mounts, and diffusers that cost more when bought separately, which is worth checking before you buy a single light and then discover you need another fifty pounds of accessories to use it.
How to buy a Lume Cube light without wasting money
Check compatibility before anything else. Lume Cube lights use standard mounts, and many of them work with tripods, cold shoes, and phone clamps, but not every accessory fits every light. If you already own a tripod, a phone mount, or a camera rig, check that the light you are buying will attach to it. An adaptor is cheap, but only if you know you need one before the light arrives. The same applies to power. Some lights charge over USB, some have removable batteries, and some need mains power. A USB-charged light is convenient for travel. A mains-powered light is better for a desk that never moves.
Pay attention to colour temperature and brightness controls. A light that only has one colour setting will look wrong in half the rooms you use it in. Adjustable colour temperature, usually from a warm 2700K to a daylight 7500K, is worth paying for, because it lets you match the light to the room. Brightness dimming should be smooth, not stepped, so you can find the level that lights your face without blowing it out. The phone app control that Lume Cube offers on many models is a genuine convenience, not a gimmick: adjusting a light from your desk is far easier than reaching around a stand in the middle of a recording.
Read the battery figures with a sceptical eye. Manufacturers quote battery life at low brightness, and a light running at full power will last a fraction of that time. If you plan to shoot for an hour, check whether the light will run for an hour at the brightness you actually need, and whether it can charge while it is running. A light that can run off a power bank while it is on is far more useful on location than one that has to be switched off to charge.
Buy the light for the job you have now, not the job you hope to have. A creator who films one video a week at a desk does not need a studio COB light. A photographer who shoots weddings does not need a ring light. Start small, use the light for a month, and let the gaps in your setup tell you what to buy next. The right second light is the one that fixes a problem you have actually had, not the one that looked good in a bundle. And keep the box and the receipt. Lights are electronics, and electronics sometimes fail. A warranty is only useful if you can prove when and where you bought the product, so file the receipt somewhere you will find it.